
Notice
Recent Posts
Recent Comments
Link
250x250
| 일 | 월 | 화 | 수 | 목 | 금 | 토 |
|---|---|---|---|---|---|---|
| 1 | 2 | 3 | 4 | 5 | ||
| 6 | 7 | 8 | 9 | 10 | 11 | 12 |
| 13 | 14 | 15 | 16 | 17 | 18 | 19 |
| 20 | 21 | 22 | 23 | 24 | 25 | 26 |
| 27 | 28 | 29 | 30 |
Tags
- Linux
- jenkins github
- jenkins 설치
- spring
- error
- REACT
- jenkins jdk
- Jenkins Pipeline
- jenkins maven
- MongoDB
- jpa
- CI/CD
- 리액트
- IntelliJ
- java
- docker network
- Spring Boot
- grafana
- MySQL
- Docker
- Jenkins
- 리눅스
- JavaScript
- jenkins github 연동
- subnetmask
- jenkins install
- gradle
- nginx
- vue.js
- grpc
Archives
- Today
- Total
뭐든 즐기면서 ;)
Jenkins install with tomcat/ Jenkins 설치 with tomcat 본문
728x90
Jenkins에 대한 간단한 설명
- CI/CD 툴입니다.
- tomcat에 의해 구동되어 집니다. 즉, war파일로 패키징되어 있는 application입니다.
- jenkins는 tomcat 8 또는 11버전에서만 구동가능합니다.
Jenkins를 설치하는 2가지 방법
jenkins를 설치하는 방법은 2가지가 있으며, 여기서는 2번 방법을 이용한 설치를 설명하고자 합니다.
1번 방법의 경우 custom방식이 많이 나와 있지 않으며, 2번 방법을 쓸 경우 tomcat을 통해 설정하기 때문에 좀 더 익숙한 방식으로 custom을 할 수가 있습니다.
- package 명령어 yum을 이용하여 서버에 설치하는 방법.
- jenkins.war파일을 tomcat에 배포하여 직접적으로 설치하는 방법.
설치 환경
- CentOS
- tomcat 8.5 ( 기본 8080포트가 아닌 10000 포트를 사용하고, context path /jenkins로 설정할 것입니다. 그리고 기존 ssl 설정이 되어 있는 nginx와 연결할 예정입니다. )
- jenkins 2.347
- proxy server nginx ( context path /jenkins 와 10000 포트를 사용하여 연결합니다. )
설치 진행
1. jenkins war 파일 다운로드
- https://www.jenkins.io/download/ 사이트로 이동하여 jenkins.war파일을 다운받아줍니다.
- 필자는 오른 쪽 버전을 설치하였습니다.

2. tomcat 8 ver 다운로드
- https://tomcat.apache.org/download-80.cgi 사이트에서 tomcat 8 버전을 다운받아줍니다.

3. linux 서버에 톰캣 파일을 업로드 합니다.
- 업로드 후 tar 압축을 풀어 톰캣 설정을 먼저 진행합니다.
- CATALINA_HOME = /home/sample/tomcat-jenkins
- vim /home/sample/tomcat-jenkins/conf/server.xml 파일 수정 ( 아래 리스트는 수정 부분 중 중요한 부분만 따로 정리한 것입니다. )
- <Connector port="10000" protocol="HTTP/1.1" URIEncoding="UTF-8" ... />
- <Context path="/jenkins" docBase="/home/sample/tomcat-jenkins/webapps/ROOT" ... />
# port 변경
<Connector port="10000" protocol="HTTP/1.1"
connectionTimeout="20000"
URIEncoding="UTF-8"
redirectPort="8443" />
# path와 docBase 변경
<Host name="localhost" appBase="webapps"
unpackWARs="true" autoDeploy="true">
<Context path="/jenkins" docBase="/home/sample/tomcat-jenkins/webapps/ROOT" reloadable="false" />
<!-- SingleSignOn valve, share authentication between web applications
Documentation at: /docs/config/valve.html -->
<!--
<Valve className="org.apache.catalina.authenticator.SingleSignOn" />
-->
<!-- Access log processes all example.
Documentation at: /docs/config/valve.html
Note: The pattern used is equivalent to using pattern="common" -->
<Valve className="org.apache.catalina.valves.AccessLogValve" directory="logs"
prefix="localhost_access_log" suffix=".txt"
pattern="%h %l %u %t "%r" %s %b" />
</Host>
4. Jenkins.war를 배포합니다.
- tomcat에서 설정한 경로 /home/sample/tomcat-jenkins/webapps에 jenkins.war 파일을 ROOT.war파일로 변경하여 올려줍니다.
- /home/sample/tomcat-jenkins/bin 경로에서 ./startup.sh 를 실행 시킵니다.
jenkins 설치까지는 여기서 끝이 납니다. 다만, 개발서버에 설치를 하는 과정이기 때문에 직접적으로 http://ip주소:10000/jenkins로 접근을 하려 한다면 방화벽 등의 문제로 접근이 되지 않을 것입니다. 이 포스팅에서는 이미 nginx설정이 되어 있는 서버에 jenkins를 연결하여 사용할 것이기 때문에 방화벽 설정 단계는 생략할 것이며, 바로 nginx와의 연결을 설명하도록 하겠습니다.
5. NginX 설정
- vim /etc/nginx/conf/nginx.conf 파일 수정 ( 아래 리스트는 수정 부분 중 중요한 부분만 따로 정리한 것입니다. )
- upstream jenkins { ... server 127.0.0.1:10000 }
- server { ... server_name domain.com; location /jenkins { proxy_pass http://jenkins; } }
- /jenkins는 context path로 톰캣에서 설정한 path="/jenkins"와도 일치해야 합니다.
- nginx.conf를 수정하였으니 service nginx reload 명령어를 통하여 수정된 것을 적용시켜 줍니다.
http {

    ...

    upstream tomcat {
        ip_hash;
        server 127.0.0.1:8080;
    }
    upstream tomcat_renewal {
        ip_hash;
        server 127.0.0.1:9099;
    }
    upstream jenkins {
        ip_hash;
        server 127.0.0.1:10000;
    }

    # http 80포트로 접근할 경우 return 301 response status 리다이렉트 https://url
    server {
        listen          80;
        server_name     domain.com;
        return          301 https://$host$request_uri;
    }


    server {
        # listen       80 default_server;
        # listen       [::]:80 default_server;
        server_name  domain.com;
        root         /usr/share/nginx/html;

        # ssl 설정
        listen 443 ssl;
        listen [::]:443 ssl;

        # Load configuration files for the default server block.
        include /etc/nginx/default.d/*.conf;

        # 인증서 설정
        ssl_certificate         /etc/pki/tls/certs/domain.crt;
        ssl_certificate_key     /etc/pki/tls/private/domain.key;

        ssl_session_cache shared:SSL:10m;
        ssl_session_timeout     10m;
        ssl_ciphers HIGH:!aNULL:!MD5;
        ssl_prefer_server_ciphers on;

        location /builder {
                proxy_set_header        Host $http_host;
                proxy_set_header        X-Real-IP $remote_addr;
                proxy_set_header        X-Forwarded-For $proxy_add_x_forwarded_for;
                proxy_set_header        X-Forwarded-Proto $scheme;
                proxy_set_header        X-NginX-Proxy true;

                proxy_pass http://tomcat;
                proxy_redirect off;
                charset utf-8;
        }

        location /renewal {
                proxy_set_header        Host $http_host;
                proxy_set_header        X-Real-IP $remote_addr;
                proxy_set_header        X-Forwarded-For $proxy_add_x_forwarded_for;
                proxy_set_header        X-Forwarded-Proto $scheme;
                proxy_set_header        X-NginX-Proxy true;

                proxy_pass http://tomcat_renewal;
                proxy_redirect off;
                charset utf-8;
        }

        location /jenkins {
                proxy_set_header        Host $http_host;
                proxy_set_header        X-Real-IP $remote_addr;
                proxy_set_header        X-Forwarded-For $proxy_add_x_forwarded_for;
                proxy_set_header        X-Forwarded-Proto $scheme;
                proxy_set_header        X-NginX-Proxy true;

                proxy_pass http://jenkins;
                proxy_redirect off;
                charset utf-8;
        }

    } # //server


}
6. 설치 확인 후 jenkins 설정
- 주소창에 입력 domain.com/jenkins
- 화면에 보이는 경로의 파일을 cat 명령어를 통하여 확인하면, Administrator password 내용이 보일 것입니다.
- 해당 내용을 복사하여 입력해 주세요.
[root@ip:/etc/nginx]cat /home/minds/.jenkins/secrets/initialAdminPassword
f4a480498cd34504951sfsdfwerdf2
- 기본 도구 설치

- 설치 진행중 ( 완료가 될 때까지 기다려 주세요. ) 완료 후 간단 설정들(계정 생성 등) 쭉쭉 진행해 주시면 됩니다.

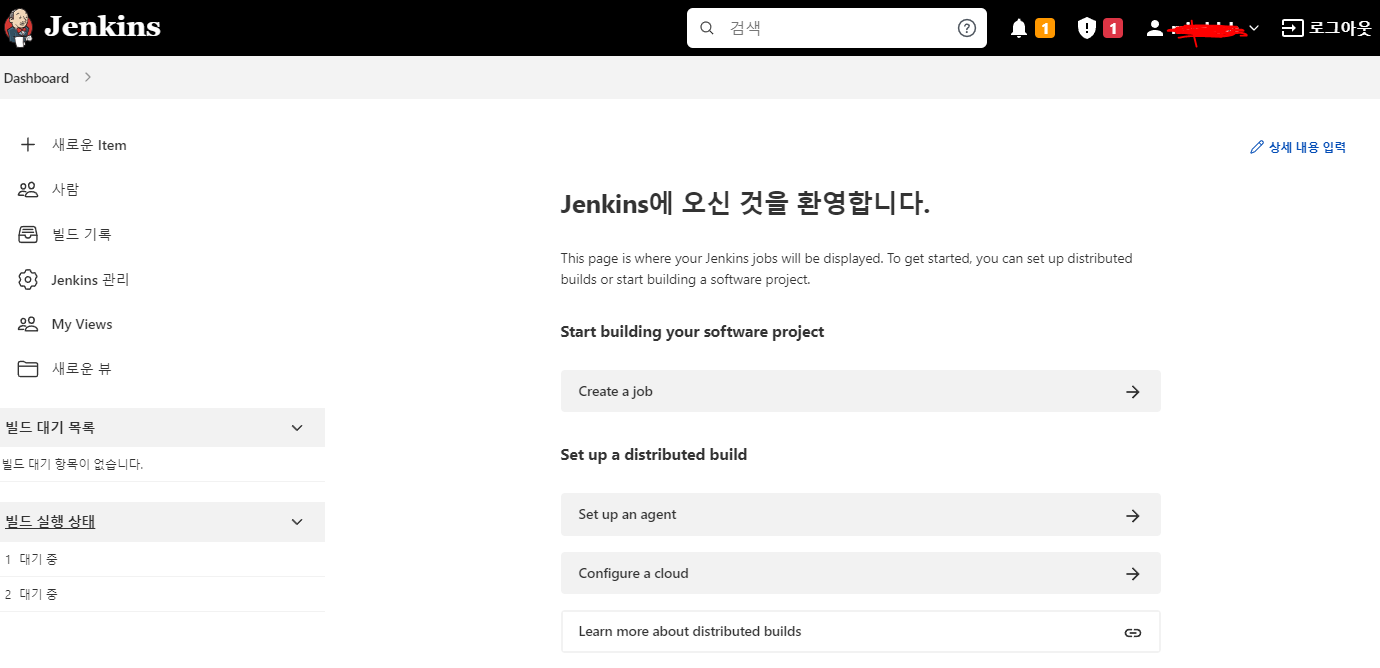
- 완료
다음 글 : Jenkins Github 연동
728x90
'서버 > JENKINS' 카테고리의 다른 글
| Jenkins 설치 1 - jenkins package 설치 (0) | 2022.09.30 |
|---|---|
| Jenkins Deploy / Jenkins maven (0) | 2022.05.19 |
| Jenkins pipeline / Jenkins github maven (0) | 2022.05.18 |
| Jenkins Github 연동 / Github Jenkins 연동 (0) | 2022.05.17 |
| Jenkins install / Jenkins 설치 (0) | 2022.05.16 |
'서버/JENKINS' Related Articles
more


Comments